Provider Onboarding Guide
Set up your PartyShare vendor account in the right order so your profile, payouts, policies, and first listings are ready for real renter activity.
Why this matters
Strong onboarding prevents the same problems from appearing later as incomplete listings, payout confusion, inconsistent terms, or missed renter messages.
Step by step
Understand the vendor role
PartyShare connects renters with local rental providers. Your listings, fulfillment information, communication, and account details need to match what you can actually deliver.
Complete account and business information
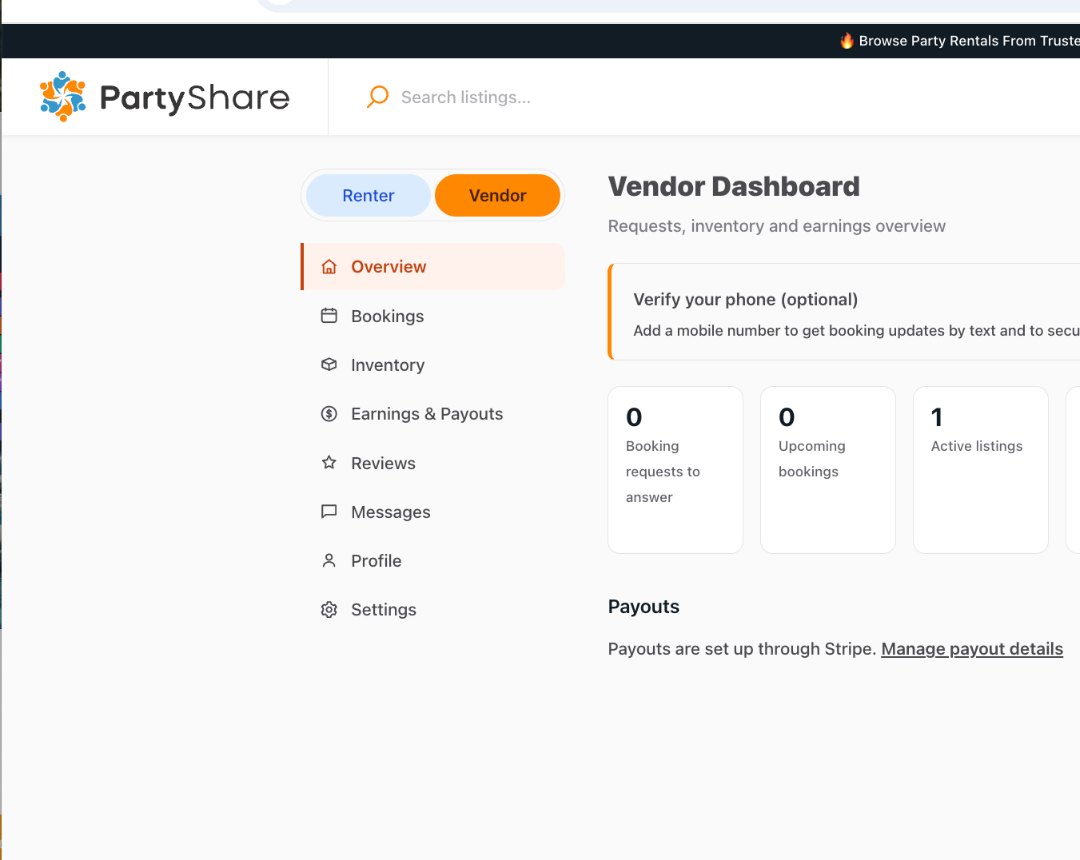
Use Profile and Settings to keep your contact and business-facing information accurate. If PartyShare requests verification, complete the prompt using your real information.
Set up payouts
Use Earnings & Payouts and the Stripe flow available through PartyShare. Do not wait until after a booking request to discover payout setup is incomplete.
Review fulfillment and policy responsibilities
Before publishing, decide what you can offer for pickup or delivery and what listing-specific rules or fees need to be disclosed through the fields PartyShare provides.
Create the first listing
Use the First Listing Guide and complete Basics, Details, Fulfillment, and Review.
Test the renter-facing result
Open the published listing and verify the item, price, photos, quantity, fulfillment, rules, and fees are understandable.
Prepare for inquiries
Know where Bookings and Messages are so you can respond when a renter reaches out.
Correct vs. avoid
Good approach
Complete the core account and payout setup, publish one high-quality listing, review it as a renter, then add the rest of the catalog.
Avoid
Upload dozens of listings before payout setup, fulfillment rules, or account information are understood, then try to fix everything after renters start asking questions.
Completion checklist
- Account information is accurate.
- Payout setup is complete or actively in progress through the PartyShare/Stripe flow.
- Profile information is complete enough for a renter to understand who is providing the rental.
- I know whether I can offer pickup, delivery, or both.
- I have reviewed the listing policy fields I will need to complete.
- My first listing is ready to build.
- I know where Bookings, Messages, and Vendor Success are located.
Common mistakes
- Using placeholder business information.
- Skipping payout setup.
- Publishing listings before fulfillment terms are workable.
- Copying policy language from another vendor without confirming it matches your business and PartyShare requirements.
- Adding a large catalog before learning the first-listing workflow.
Frequently asked questions
Do I need to finish every catalog item before I can learn the system?
No. Start with one representative listing, review the full workflow, then expand.
Your onboarding path
Use this sequence as your operating checklist: Account → Business → Verification → Payouts → Policies → First listing → Catalog → Test inquiry → Launch-ready. PartyShare may not display this exact tracker as a single screen; it is the Vendor Academy sequence for making sure nothing important is skipped.
Provider eligibility and required information
PartyShare is designed for rental providers who can accurately represent inventory, pricing, condition, availability, and fulfillment. The exact application and approval requirements are controlled by the current PartyShare product and marketplace policy. Use real business and identity information whenever PartyShare asks for it; do not create placeholder details that will later conflict with payouts, support, or renter communication.
How booking requests and inquiries fit into onboarding
A published listing is only the beginning. The Vendor Dashboard includes Bookings and Messages so you can act when a renter reaches out. Treat your first friendly inquiry as an operational test: find the request, review the listing and dates, verify inventory, respond through PartyShare, and confirm that you know the next fulfillment step. Do not describe a listing as instantly confirmed unless the current PartyShare workflow actually supports that state.
Availability standard
Before you invite demand, make sure the quantity and availability reflected in PartyShare match what you can fulfill. If an item is out for maintenance, already committed elsewhere, or temporarily unavailable, update the listing or the availability controls available in your account before accepting a new request.
Completion checklist
- Account and business information are accurate.
- Required identity/phone verification is complete.
- Stripe-connected payout setup is complete.
- Profile information is complete.
- Pickup/delivery choices are understood.
- Listing-specific policies use only approved/current PartyShare fields.
- First listing is published and reviewed as a renter.
- Initial catalog contains accurate, fulfillable inventory.
- Availability and quantities are current.
- Bookings and Messages locations are understood.
- A friendly test inquiry was completed.
- Vendor Success/support path is known.