Published Listing Quality Check
Review the listing exactly as a renter sees it before you rely on it for bookings.
Why this matters
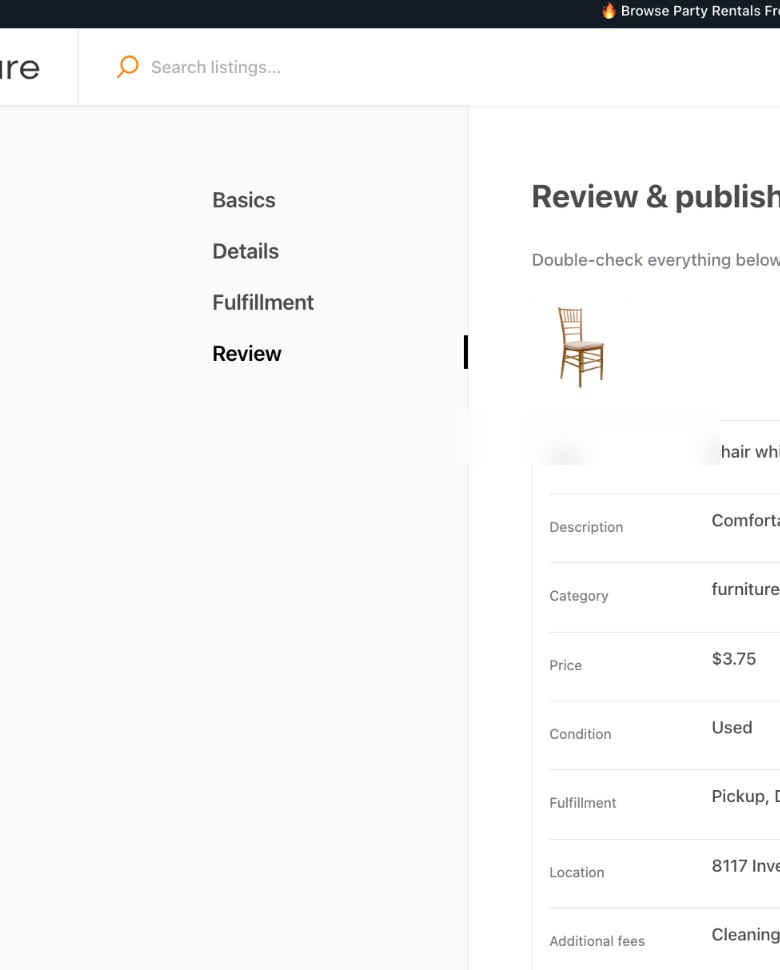
The editor tells you what you entered; the published page tells you what the renter actually experiences. Both need to agree.
Step by step
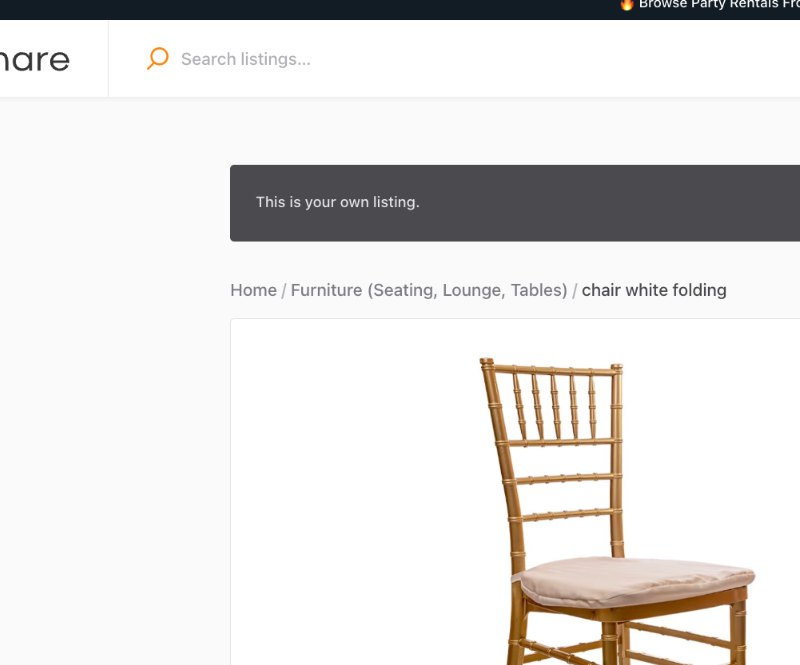
Open the live listing
After publishing, open the renter-facing page rather than assuming the Review screen is enough.
Check the hero information
Confirm title, primary photo, price per day, vendor identity, and basic listing details.
Test the booking controls
Review the date/time controls, quantity, fulfillment selector, and Request to book entry point as they appear to a renter.
Review terms and fees
Expand the visible terms, fees, specs, and rules so you know what is actually disclosed.
Check location and fulfillment information
Make sure the public location/fulfillment presentation is appropriate and not confusing.
Review mobile
Use a narrow browser window or phone before assuming the desktop experience is sufficient.
Correct vs. avoid
Good approach
The renter-facing page matches the listing editor and clearly explains item, price, quantity, fulfillment, fees, terms, and vendor.
Avoid
The vendor publishes and never opens the listing, so a wrong category, confusing fee, or weak photo remains live.
Completion checklist
- Title and photos are correct.
- Price is correct.
- Dates/time controls behave as expected.
- Quantity is understandable.
- Fulfillment choices are clear.
- Fees/terms/rules are visible and accurate.
- Vendor information is appropriate.
- Mobile view is readable.
Common mistakes
- Reviewing only the editor.
- Ignoring mobile layout.
- Failing to expand rules/terms sections.
- Assuming a fee saved correctly without checking the live page.
- Leaving a wrong category or title because the page technically published.
Frequently asked questions
What should I do immediately after publishing?
Open the live renter-facing listing and review it as if you were deciding whether to book.